
As the scent of savory salmon fills the air, my kitchen transforms into a sushi lover’s paradise! This Easy Baked Salmon Sushi Bake brings all the delightful flavors of sushi into one effortless dish, whisking away the need for intricate rolling. Perfectly creamy and topped with a drizzle of spicy mayo and fresh avocado, it’s a treat that suits any occasion—be it a cozy weeknight dinner or an eye-catching appetizer for your next gathering.
What makes this recipe truly special is its adaptable nature. Whether you’re catering to gluten-free friends or simply want to switch things up with shrimp instead of salmon, this one-pan wonder is designed to impress while saving you time and trouble in the kitchen. So grab your apron and let’s dive into this deliciously deconstructed sushi experience!
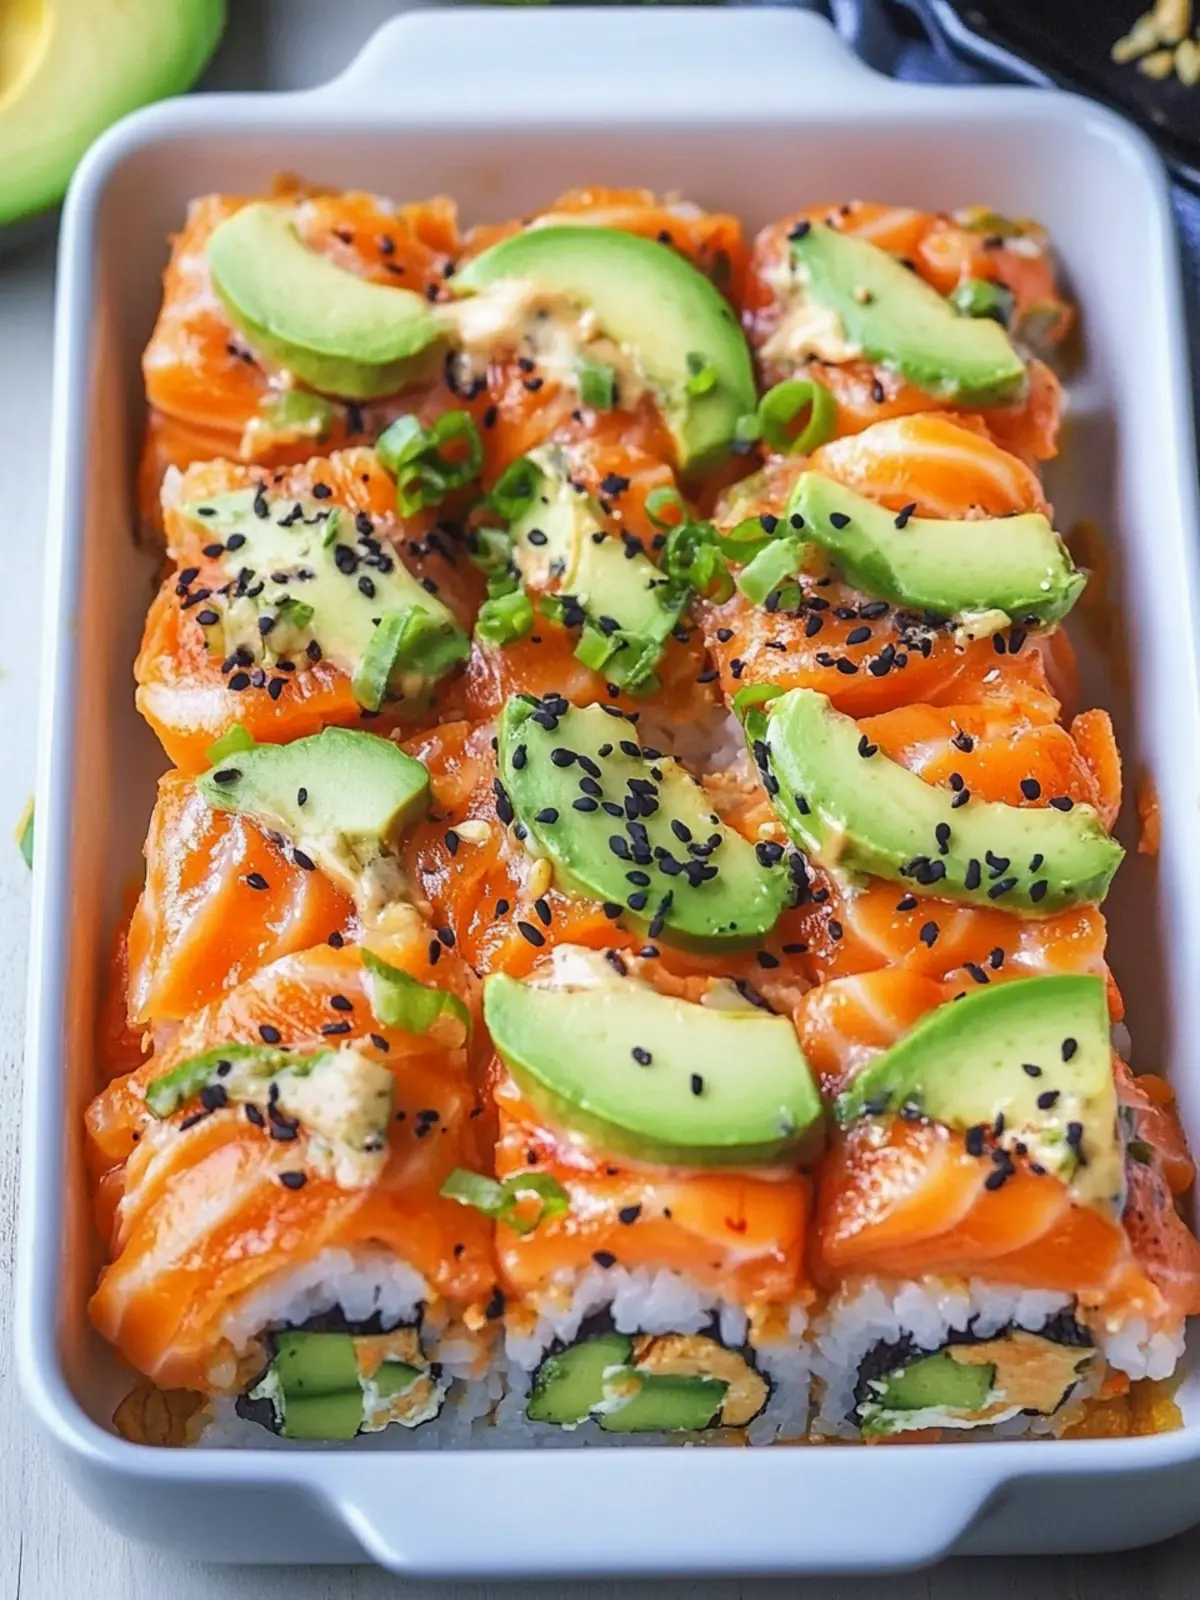
Why is Salmon Sushi Bake a Game Changer?
Simplicity: This dish is effortlessly easy, allowing anyone to replicate sushi flavors without the fuss of rolling.
Family-Friendly: Appeal to all palates with customizable ingredients, ensuring even the pickiest eaters can enjoy.
Flavor Explosion: Each bite offers a delightful balance of creamy, savory, and spicy notes that will keep your taste buds dancing.
One-Pan Wonder: Minimize cleanup and maximize enjoyment—everything comes together in a single dish!
Perfect for Gatherings: Serve as a crowd-pleasing appetizer or main course that’s sure to impress guests.
Plus, for more ideas on how to vary ingredients, check out my Sushi Bake Variations.
Salmon Sushi Bake Ingredients
For the Rice Base
• Sushi Rice – Essential for achieving that authentic sushi texture; for a low-carb option, try cauliflower rice.
• Water – Vital for cooking the sushi rice to fluffy perfection.
• Lite Seasoned Rice Vinegar – Adds tanginess to the rice; can substitute with rice vinegar mixed with sugar and salt.
For the Salmon Mixture
• Salmon Filet – Provides the delicious seafood flavor; cooked shrimp or tuna can be used for variation.
• Imitation Crab Meat – Adds texture; omit for a gluten-free dish or replace with extra salmon.
• Kewpie Mayo – A creamy must-have for flavor; regular mayo can be a substitute, though the taste will vary.
• Cream Cheese – Adds creaminess; egg-based substitutes won’t replicate the desired texture.
• Sriracha – For that extra spicy kick; adjust to your liking or swap for a different hot sauce.
• Soy Sauce or Tamari – Enhances depth of flavor; use tamari for a gluten-free option.
• Green Onions – Offers freshness and crunch; chives can serve as a mild alternative.
For the Toppings
• Furikake – A Japanese seasoning blend that gives a delightful umami flavor; toasted sesame seeds work if furikake is unavailable.
• Avocado – Adds creaminess and richness; any fresh veggies can be used for color and crunch.
• Sesame Seeds – Provides a nutty finish; sprinkle generously for added texture.
• Cucumbers – Offers a refreshing contrast; can be substituted with any other fresh veggies.
• Nori – For wrapping the sushi bake, adding visual appeal and extra flavor.
For the Sauces
• Unagi Sauce – A sweet and savory drizzle to elevate the dish; can be replaced with eel sauce if needed.
• Spicy Mayo (Kewpie Mayo, Sriracha, Lime Juice, Salt) – A luscious topping that enhances the overall flavor profile.
Note: This dish is incredibly customizable, making it easy to adapt for dietary preferences or ingredient availability. Enjoy creating your own version of this delightful Salmon Sushi Bake at home!
How to Make Salmon Sushi Bake
-
Prepare Rice: Rinse and soak sushi rice in cold water until the water runs clear. Bring it to a boil, then simmer for about 18 minutes until tender. Season with rice vinegar and fluff with a fork.
-
Make Salmon Mixture: Cube the salmon filet into bite-sized pieces. In a mixing bowl, combine the salmon, cream cheese, Kewpie mayo, sriracha, soy sauce, and chopped green onions. Mix well and refrigerate for 15 minutes to let flavors meld.
-
Prepare Unagi Sauce: In a saucepan, combine soy sauce, mirin, sake, and sugar. Bring to a boil, then simmer for 5-7 minutes until it thickens. Set aside to cool.
-
Make Spicy Mayo: Whisk together Kewpie mayo, sriracha, lime juice, and a pinch of salt in a small bowl. Chill in the refrigerator while you prepare the other components.
-
Assemble Sushi Bake: Preheat your oven to 425°F (220°C). In a greased baking dish, layer the seasoned sushi rice evenly, sprinkle furikake over the top, and then spread the salmon mixture on top.
-
Bake: Place the baking dish in the oven and bake for 10-15 minutes until heated through. Broil for an additional 2-3 minutes until the top is golden and bubbly.
-
Serve: Garnish with unagi sauce, a drizzle of spicy mayo, sliced avocado, cucumber, sesame seeds, and chopped green onions. Serve warm, ideally with nori sheets to wrap bites.
Optional: Add pickled ginger for a refreshing counterpoint.
Exact quantities are listed in the recipe card below.
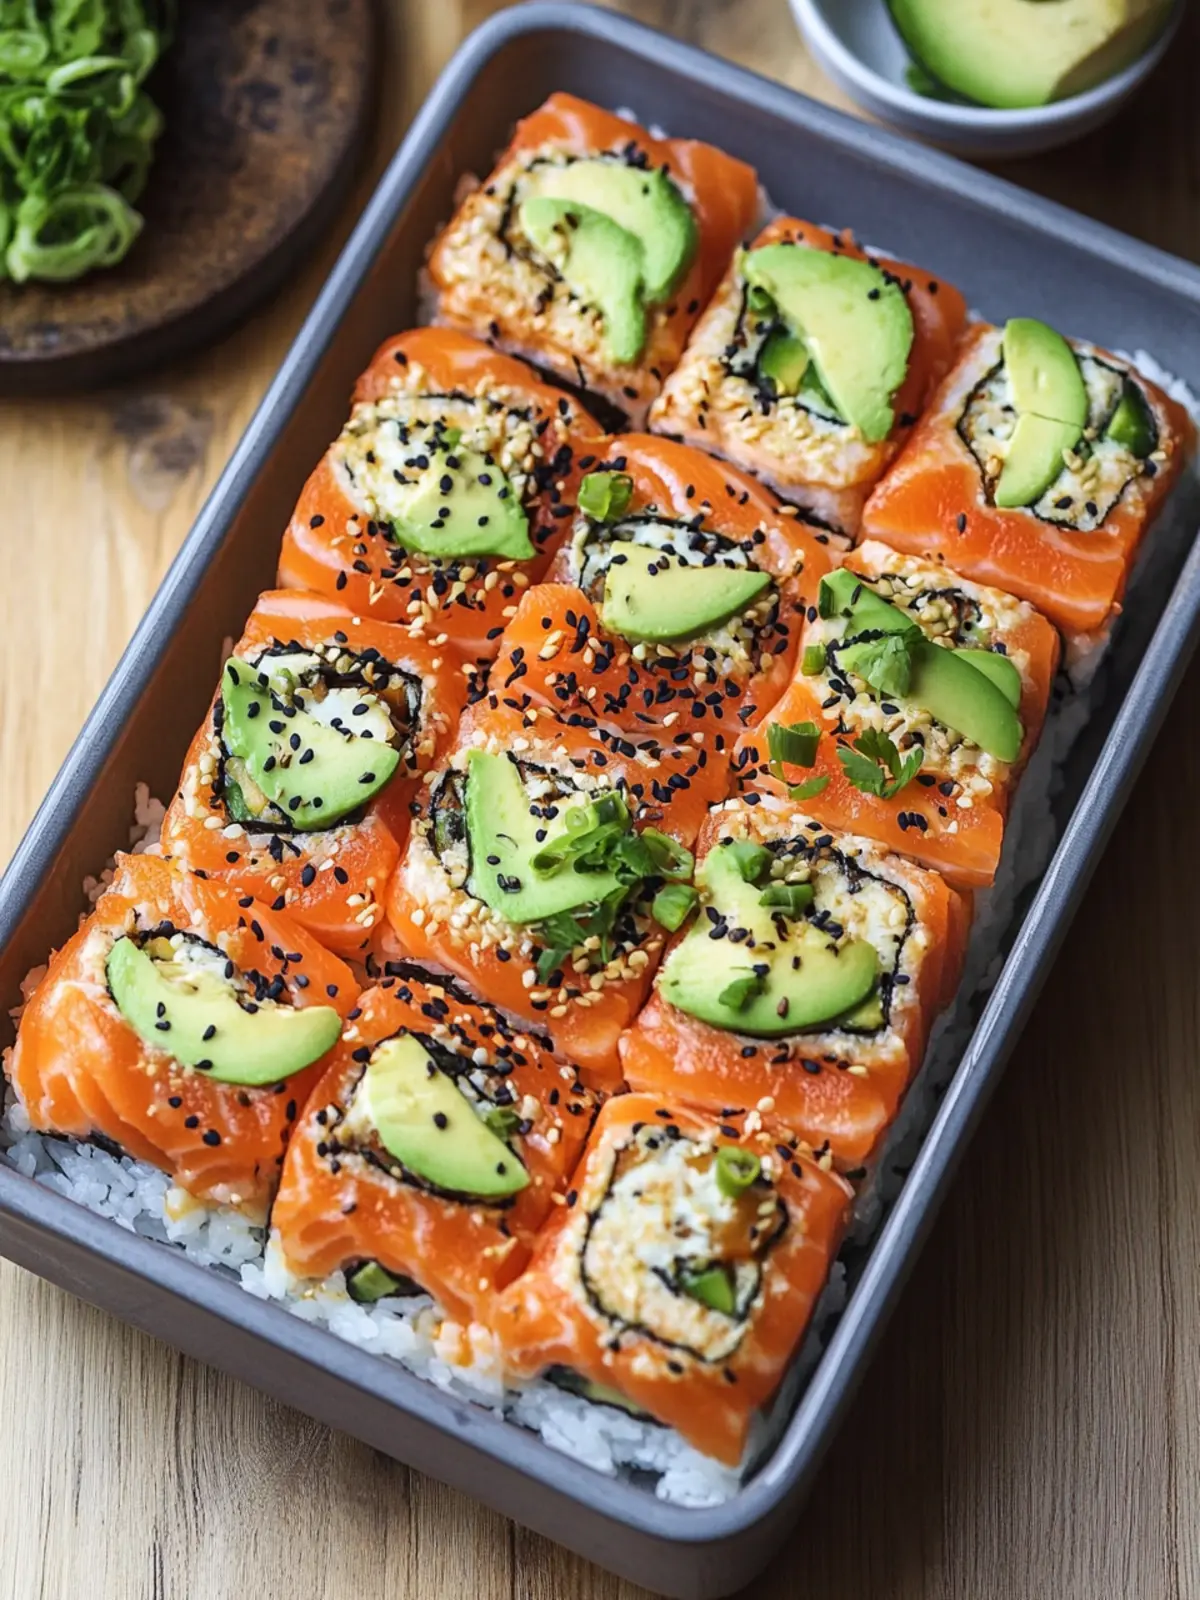
Salmon Sushi Bake Variations
Feel free to mix things up and create your perfect Salmon Sushi Bake by trying out these fun variations!
-
Dairy-Free: Replace cream cheese with cashew cream for a rich, dairy-free alternative. It keeps that creamy texture with a nutty flavor.
-
Gluten-Free: Use tamari instead of soy sauce and ensure all toppings, like furikake, are gluten-free. It’s an easy way to cater to dietary needs without sacrificing taste.
-
Spicy Twist: Mix in additional sriracha or a splash of chili oil into the salmon mixture for an extra kick. Adjust to your heat preference for the perfect level of spice!
-
Veggie Boost: Incorporate diced bell peppers, carrots, or zucchini into the salmon mixture, adding more color, texture, and nutrition. You’ll love the crunch!
-
Herb-Infused: Add fresh herbs like cilantro or basil to the salmon mixture for a fragrant, fresh twist that elevates every bite. It’s a nice homage to sushi flavors!
-
Asian Fusion: Mix in some kimchi for a tangy, spicy surprise that complements the creamy salmon beautifully. The unique flavors will delight your taste buds!
-
Protein Swap: Use cooked shrimp or crab meat in place of salmon for a different seafood experience. It’s a delicious way to mix up your seafood options!
-
Topping Variations: Experiment with different toppings such as mango slices or jalapeños for a fruity or spicy element. Add an exciting twist to the flavor profile!
Jump in and let your imagination guide you to your very own ideal Salmon Sushi Bake!
How to Store and Freeze Salmon Sushi Bake
Fridge: Store leftovers in an airtight container for up to 3 days. This keeps the creamy texture intact while preserving flavors.
Freezer: Wrap portions tightly in plastic wrap and then place them in a freezer-safe container. They can be frozen for up to 3 months.
Reheating: Thaw overnight in the fridge before reheating in the oven at 350°F (175°C) for about 15-20 minutes, or until heated through.
Enjoy Cold: The Salmon Sushi Bake can also be enjoyed cold—perfect for a quick lunch or snack!
Expert Tips for Salmon Sushi Bake
- Rinse the Rice: Thoroughly rinse sushi rice to remove excess starch, ensuring fluffy, non-sticky grains for your Salmon Sushi Bake.
- Use Warm Rice: Season your rice with vinegar while it’s warm to help absorb the tangy flavors better, enhancing the final dish.
- Chill the Salmon Mix: Letting the salmon mixture rest in the fridge for at least 15 minutes allows the flavors to meld beautifully before baking.
- Broil Carefully: Keep a close eye on the broiler; a minute too long can turn a golden top into a burnt one.
- Store Properly: If you have leftovers, store any uneaten Salmon Sushi Bake in an airtight container; it will stay fresh for up to 3 days.
Make Ahead Options
These Salmon Sushi Bakes are perfect for meal prep enthusiasts! You can prepare the sushi rice and the salmon mixture up to 24 hours in advance. To do this, follow the first two steps of the recipe, then store the seasoned rice in an airtight container at room temperature and refrigerate the salmon mixture. This keeps the rice fluffy and the flavors concentrated. When you’re ready to serve, simply layer the rice in a greased baking dish, top with the salmon mixture, and bake according to the instructions. This way, you’ll have a delicious, fresh-tasting Salmon Sushi Bake ready with minimal effort during your busy week!
What to Serve with Salmon Sushi Bake?
Elevate your dining experience with delightful pairings that complement the rich flavors of this scrumptious dish.
-
Pickled Ginger: Provides a zesty, refreshing contrast that cuts through the creaminess of the sushi bake. Perfect for cleansing your palate between bites!
-
Seaweed Salad: Its light, tangy flavor and crisp texture balance the richness of the salmon, creating a lovely harmony on your plate.
-
Edamame: These tender, savory beans are a delightful finger food, adding a nutritious boost and a satisfying crunch to your meal.
-
Miso Soup: Warm and comforting, miso soup enhances the seafood theme while offering a soothing, umami-rich broth to sip alongside your dish.
-
Sake or White Wine: A chilled glass of sake brings out the dish’s nuanced flavors; a crisp white wine, like a Sauvignon Blanc, offers a refreshing complement.
-
Japanese Cheesecake: For a sweet finale, this light, fluffy dessert adds a unique twist; its subtle sweetness beautifully contrasts the savory salmon flavors.
By thoughtfully choosing these sides and beverages, you’ll create a memorable meal that truly celebrates the magic of your Salmon Sushi Bake!

Salmon Sushi Bake Recipe FAQs
How do I select the right sushi rice?
Choosing the right sushi rice is essential for achieving that authentic texture. Look for short-grain sushi rice marked specifically for sushi; it should feel slightly sticky when cooked. I often rinse the rice thoroughly to remove excess starch—this helps achieve fluffy, non-clumpy grains that are perfect for your Salmon Sushi Bake!
What is the best way to store leftover Sushi Bake?
Absolutely! Leftovers should be stored in an airtight container in the fridge for up to 3 days. I usually recommend dividing the leftovers into smaller portions, which makes it easier for reheating. Just make sure to cover it well to prevent drying out; you can enjoy it warm or cold!
Can I freeze Salmon Sushi Bake?
Yes, you can! To freeze, wrap portions tightly in plastic wrap, then place them in a freezer-safe container. This method helps to prevent freezer burn. The Salmon Sushi Bake can be frozen for up to 3 months. When you’re ready to eat, just thaw it in the fridge overnight and reheat in the oven at 350°F (175°C) for 15-20 minutes.
What if my salmon mixture is too watery?
If you find that your salmon mixture is too watery, it might be due to excess mayo or a high water content in the salmon. A quick fix is to add a bit more cream cheese or even a spoonful of cornstarch to thicken it up. Just mix it in well and give it a few minutes to adjust before baking.
Is there a gluten-free option for this recipe?
Very! To make your Salmon Sushi Bake gluten-free, use tamari instead of soy sauce and omit the imitation crab meat. You can also substitute the furikake with toasted sesame seeds for added flavor. It’s great to cater to different dietary needs while keeping the dish delicious!
How long does it take to prepare the Salmon Sushi Bake?
The entire preparation process typically takes about 30-45 minutes, including cooking the rice and assembling the dish. I recommend prepping the salmon mixture ahead of time so you can simply bake it later; this saves time and makes your dinner even more enjoyable.
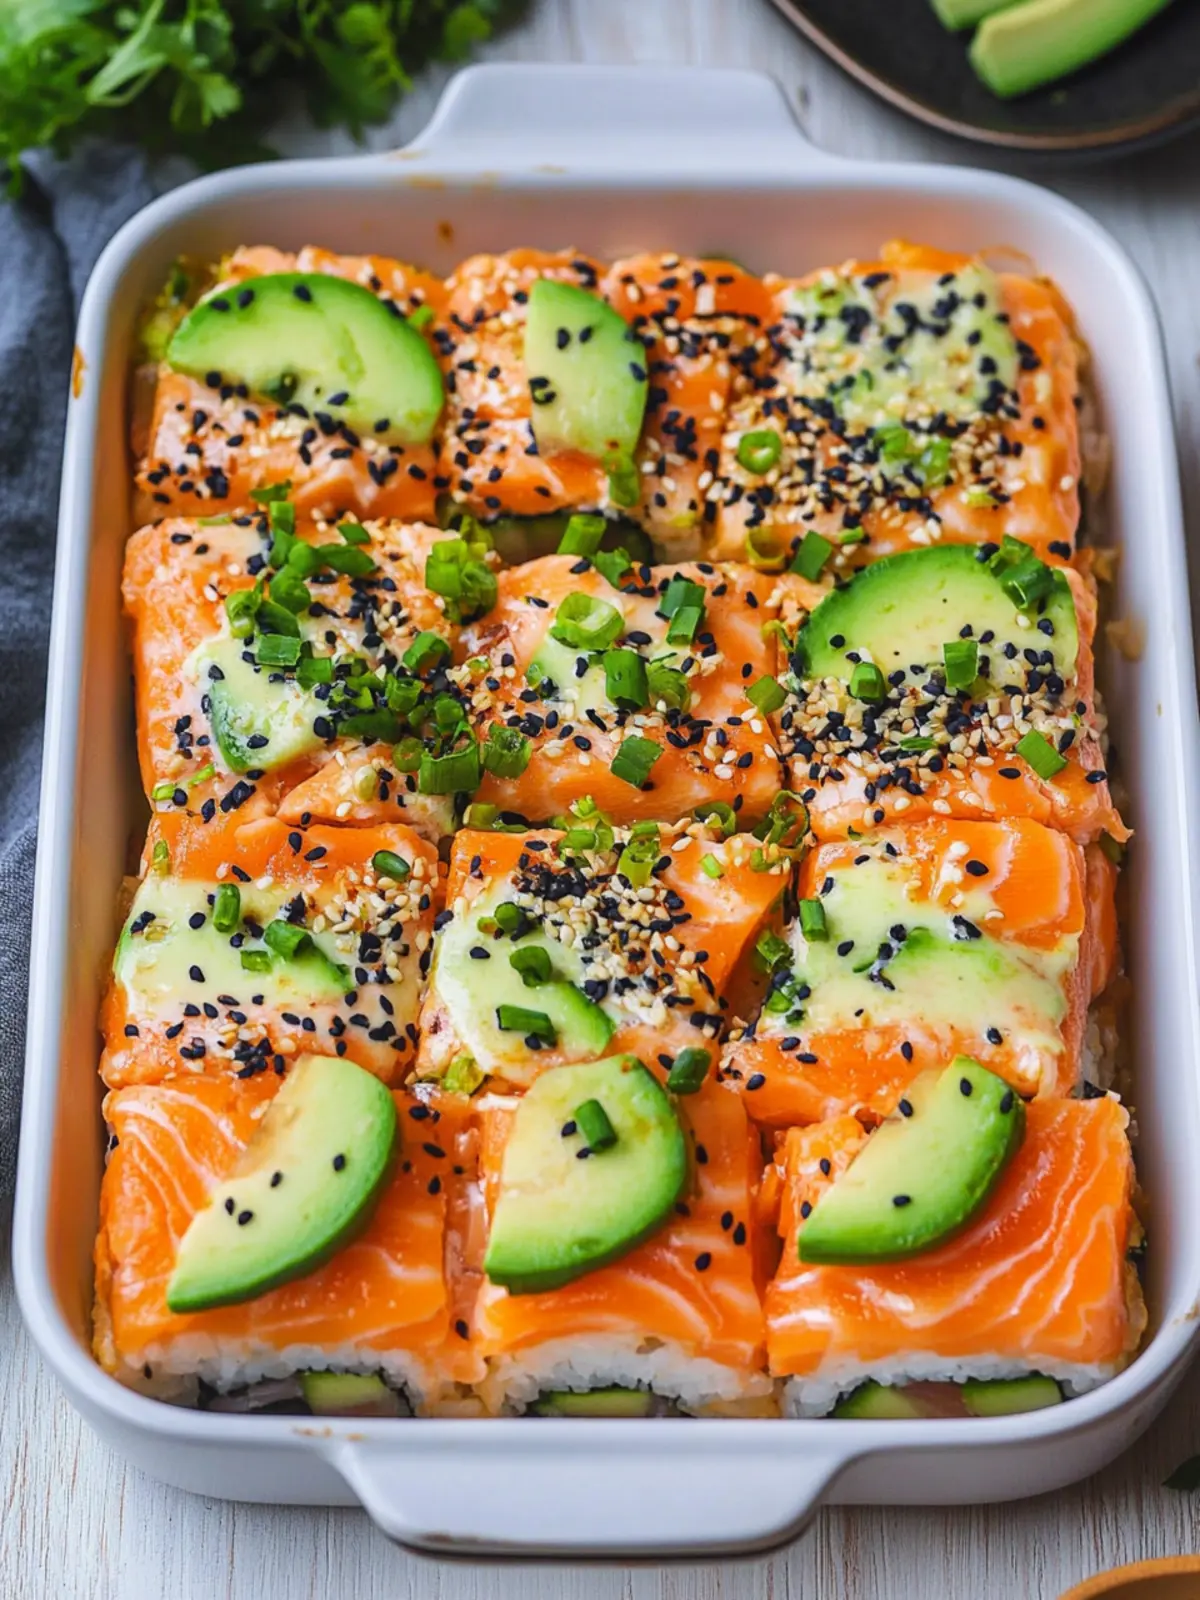
Savory Salmon Sushi Bake: Easy One-Pan Perfection at Home
Ingredients
Equipment
Method
- Rinse and soak sushi rice in cold water until clear. Boil, then simmer for 18 minutes until tender. Season with rice vinegar and fluff.
- Cube salmon and combine with cream cheese, Kewpie mayo, sriracha, soy sauce, and green onions. Refrigerate for 15 minutes.
- For the Unagi Sauce, combine soy sauce, mirin, sake, and sugar in a saucepan. Boil, then simmer for 5-7 minutes until thickened.
- Whisk together Kewpie mayo, sriracha, lime juice, and salt for the Spicy Mayo. Chill.
- Preheat oven to 425°F (220°C). Layer seasoned sushi rice in a greased baking dish, sprinkle furikake on top, and spread salmon mixture.
- Bake for 10-15 minutes until heated through, then broil for 2-3 minutes until golden.
- Garnish with unagi sauce, spicy mayo, avocado, cucumber, sesame seeds, and green onions. Serve warm with nori.